
How the Hydrographics Process Works
Water transfer printing applies a decorative film design to a prepared surface. Explore the stages that lead to the finished appearance.
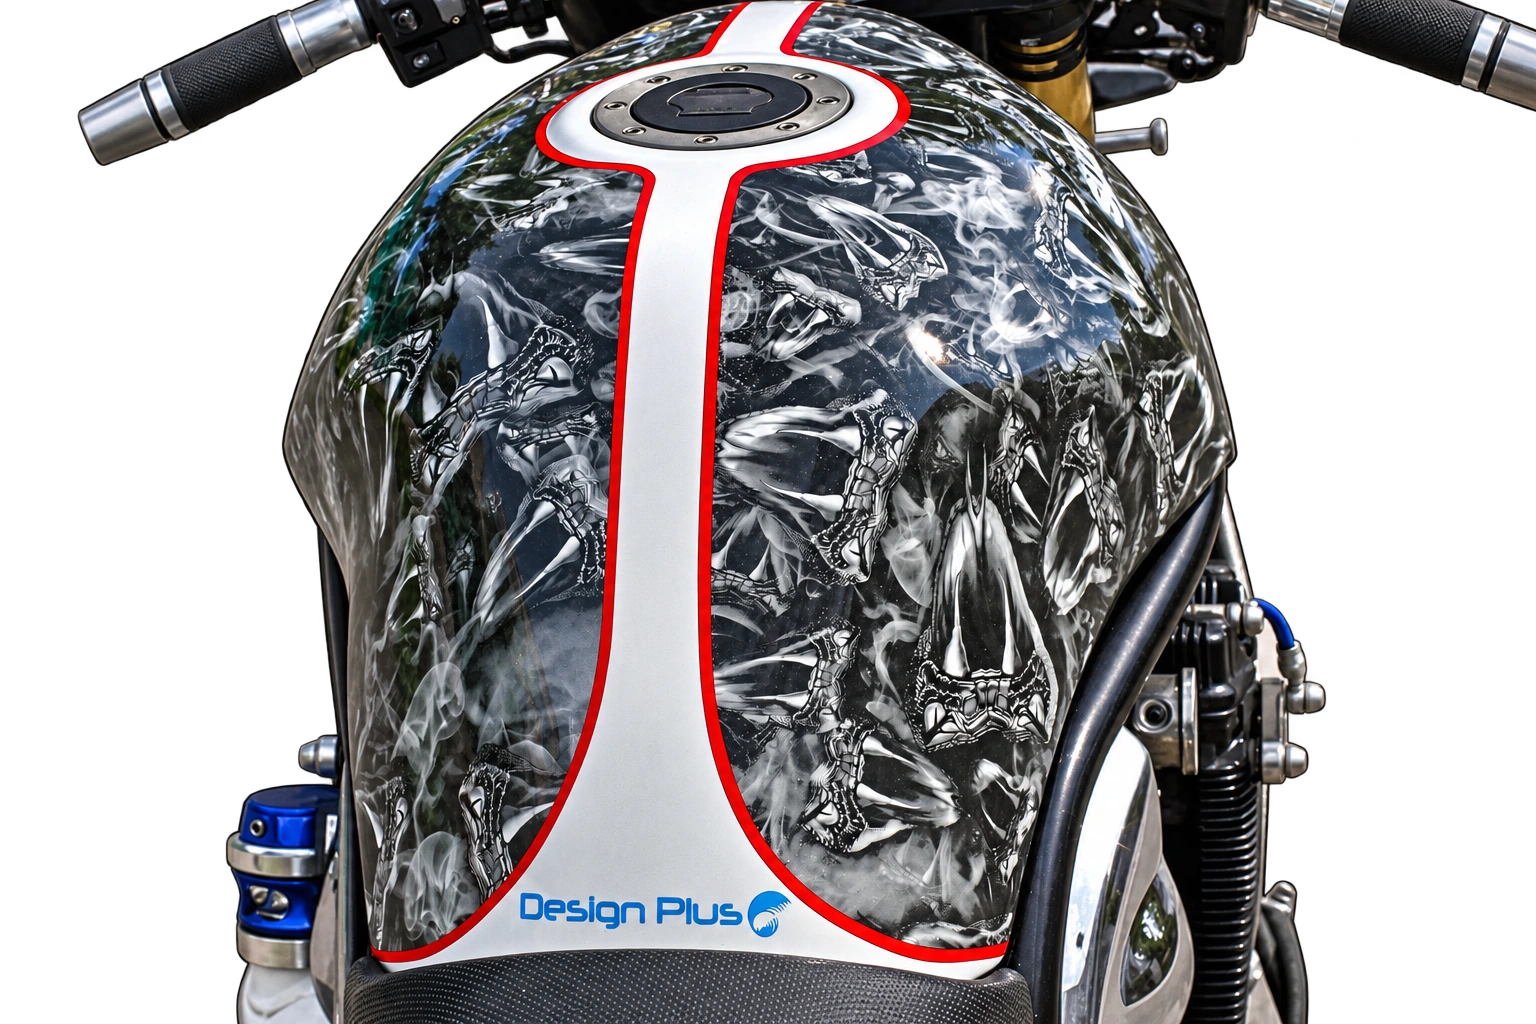
Hydrographics Step by Step
Discover the individual stages of the Water Transfer Printing process.
Hydrographics, also known as Water Transfer Printing, is a surface decoration technology in which patterns are transferred from a film onto an object immersed in water. It allows detailed graphics, such as carbon fibre, wood, camouflage and decorative textures, to be applied even to irregularly shaped objects. Once the process is complete, the pattern is protected with a clear coat, creating an attractive and durable finish.
Surface Preparation and Primer
Proper preparation of the part is the foundation of a durable and attractive finish. The surface should be cleaned, degreased and, where necessary, abraded. A primer suited to the material is then applied to provide appropriate adhesion for the subsequent layers.
Base Coat
A base coat in the chosen colour is applied to the prepared part. Its shade has a significant effect on the final appearance of the hydrographics, particularly when the film contains transparent areas within the pattern. The coating must dry appropriately before further processing.
Film Preparation
The film bearing the selected pattern is placed on the water surface in the correct orientation, taking care to eliminate air bubbles. Contact with water softens the carrier layer and prepares the film for activation.
Pattern Activation
Activator is applied to the prepared film, allowing the printed pattern to be released from the carrier layer. The pattern becomes a thin layer of paint floating on the water surface, ready to be transferred onto the part being decorated.
Dipping the Part
The prepared object is immersed in water at a suitably chosen angle. During dipping, the pattern transfers onto its surface and conforms to the shape of the part. The technique also allows objects with complex geometry to be decorated.
Rinsing and Drying
After the graphic has been transferred, the part is thoroughly rinsed to remove any residue of the dissolved PVA carrier film. It is then left to dry completely before the final protective coating is applied.
Clear Coat
The final stage is the application of a clear coat, which protects the transferred pattern and gives the surface its final appearance. An appropriately selected coating protects the decoration during subsequent use.
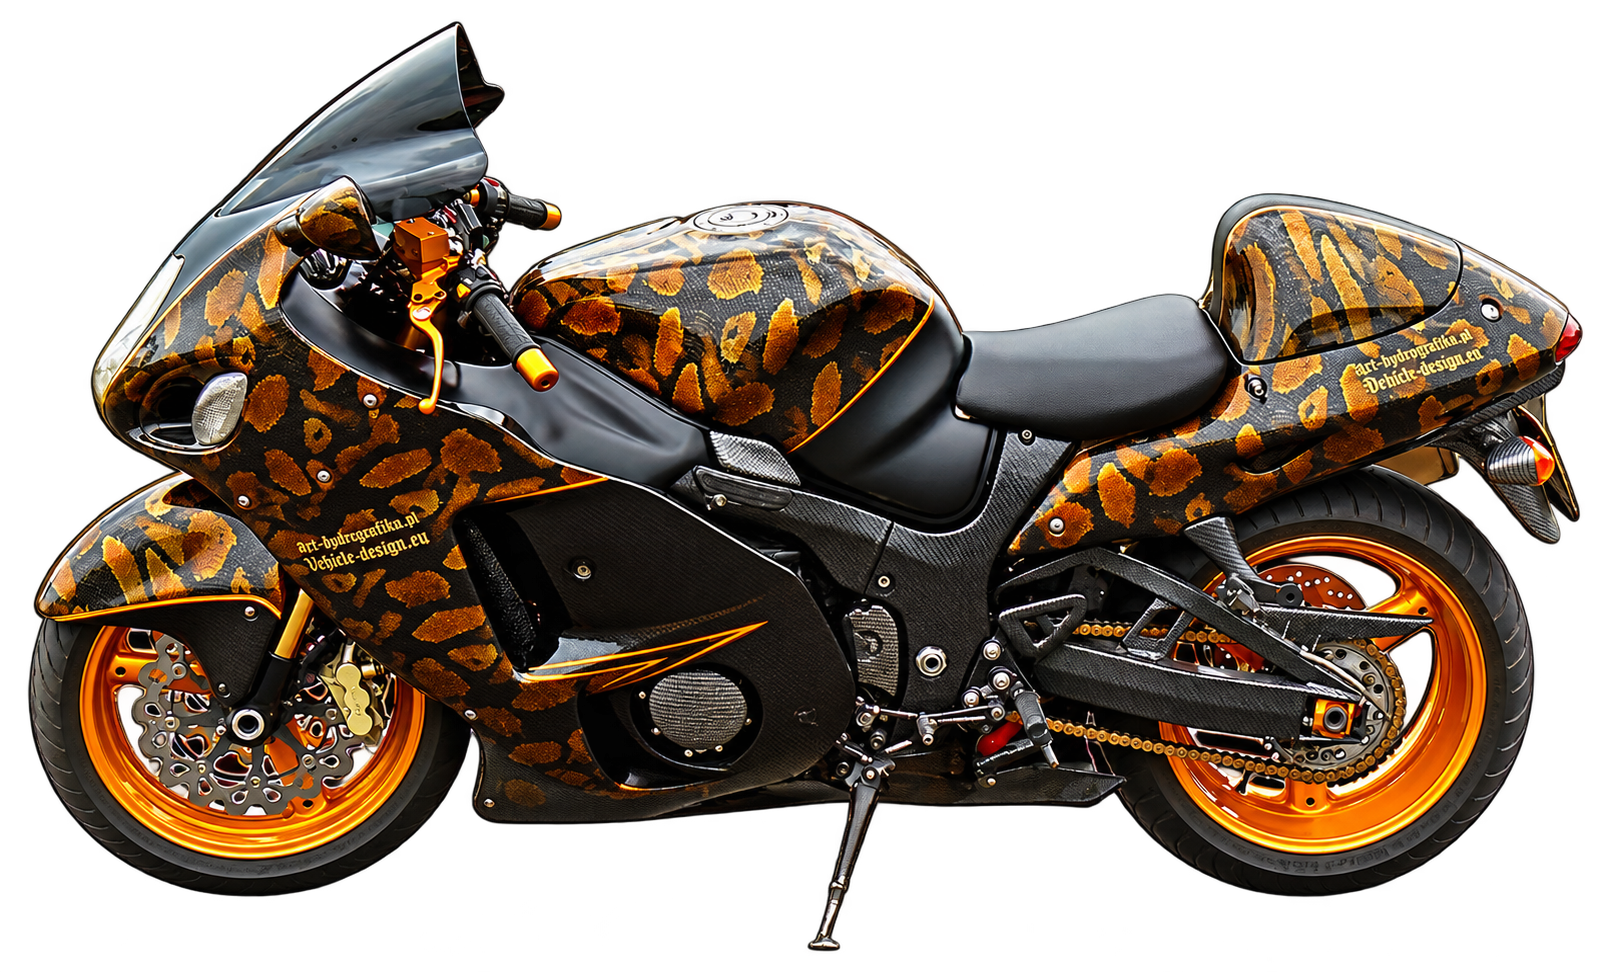
See the finish on real projects.
Discover the visual possibilities of decorative water transfer printing in our project gallery.
Explore gallery